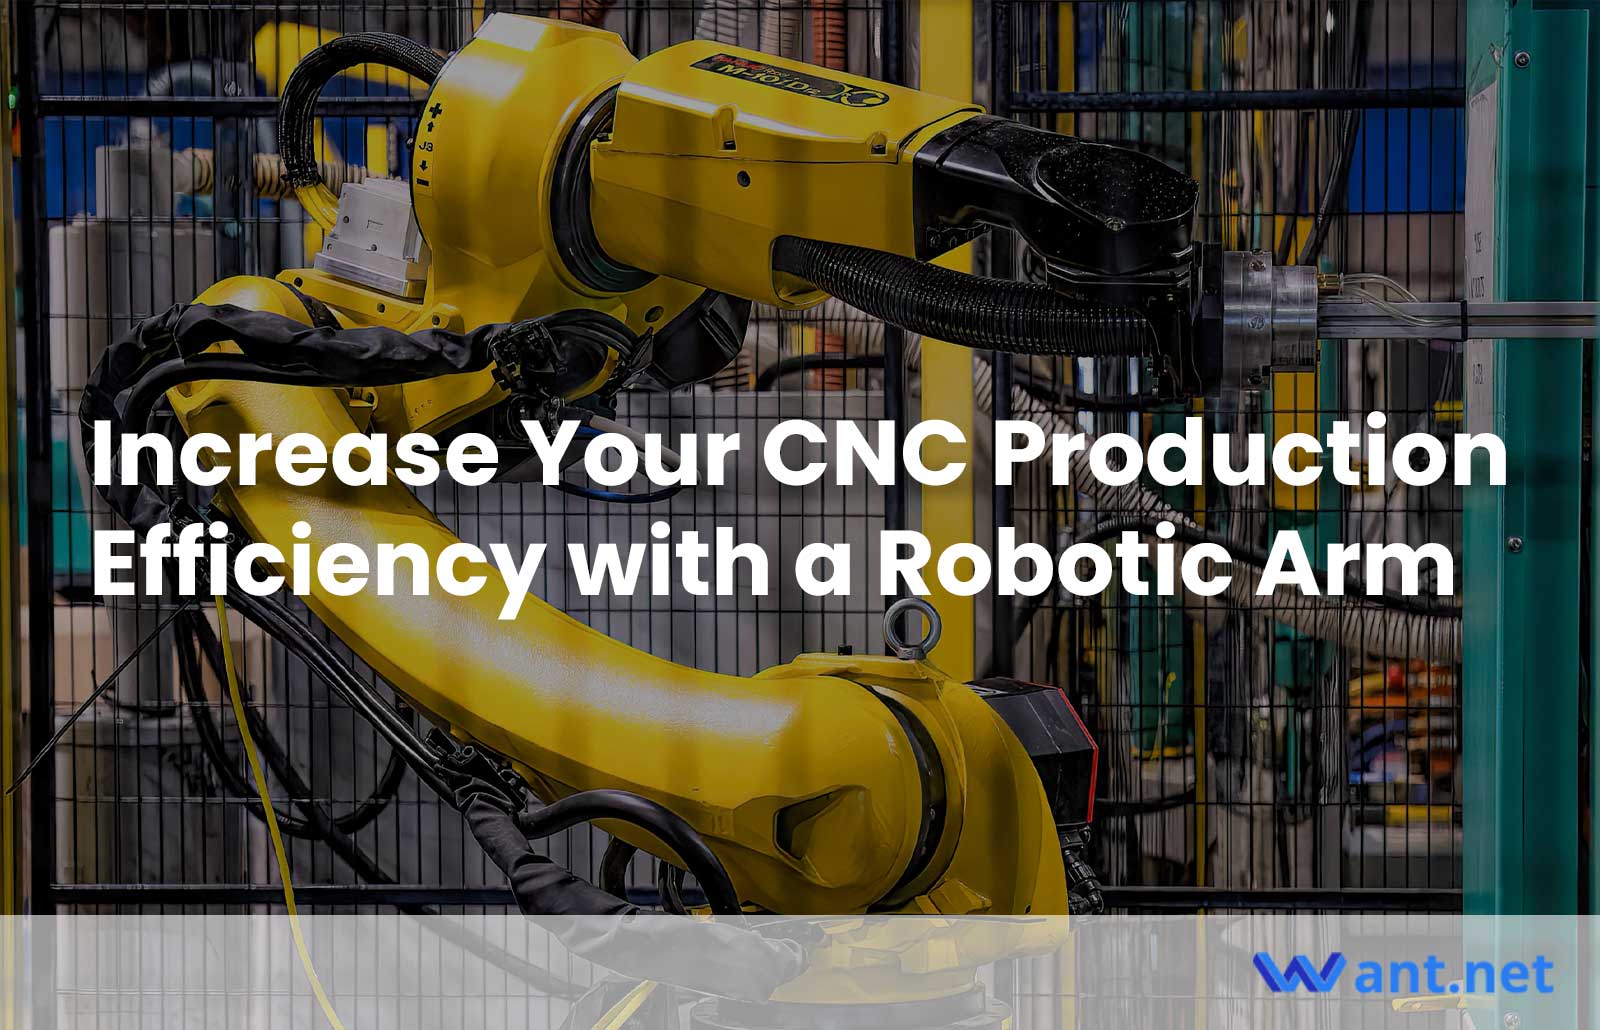
The concept of automated production was once a distant dream, but today it has become commonplace, much like finding a vending machine in an airport hallway. This transformation can be attributed to the emergence of the CNC prototyping service industry. In the past, installing a robotic arm loader required the expertise of a highly qualified specialist. However, with the advancements in CNC manufacturing equipment, many machines now come with preset options that allow users to easily connect the robotic arm themselves. Nonetheless, it is essential to carefully evaluate the need for automation in CNC production, as robots can be quite expensive.
Determining the Necessity of a Robot
Originally, CNC automation was primarily considered suitable for monotonous tasks, highly precise operations beyond human capabilities, and hazardous production supply chains. Today, robots have become more affordable, and the primary reason for choosing to use robots is simple: considering the cost of the robot itself, it can generate more profit over the next five years than if you didn’t make the investment. To determine whether a robot is necessary for your CNC production, calculate your costs and potential profits. Divide the price of the robot by five and assess your production plans. If automating your manufacturing processes will significantly increase CNC production, allowing you to secure enough new jobs to recover one-fifth of the robot’s cost within a year, then acquiring a robot is a definite advantage.
Choosing the Right Robotic Arm
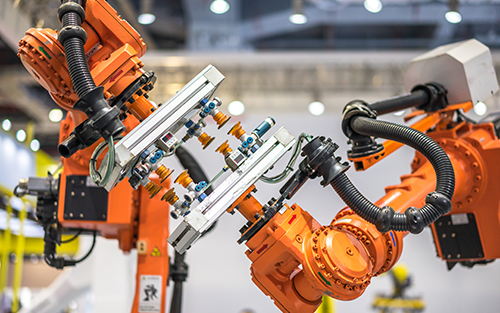
There are various types of robotic arms designed for different automated production purposes. Some arms are designed for loading and unloading parts into and out of machine tools, thereby speeding up the CNC process. Others specialize in welding operations or assembling machine components. For CNC companies and prototype manufacturers with low-batch production, the most efficient and straightforward option is a robotic arm specifically designed for loading and unloading parts.
Programming the Robotic Arm
The programming process for robotic arms has evolved over time. Previously, it was complex and time-consuming, making it feasible only for large-scale production with hundreds of thousands of parts or when absolute positioning precision was required. However, modern robotic arms have the capability to learn and mimic human actions. By setting the arm in learning mode and manually guiding it through the desired actions from start to finish, the arm can remember and replicate the actions. While the positioning precision may not be as exact, programming such an arm takes significantly less time.
The Primary Advantage of a Loading Robotic Arm
The main advantage of using a loading robotic arm is that if you have a batch of identical parts to manufacture on a machine tool, you can automate the entire process to the extent that you only need to provide a box of blanks and return the next day to find the entire batch completed. The robotic arm can continue working during additional shifts, significantly increasing production output.
Installation and Setup Requirements
Once you have decided to create a smart factory and have purchased a robotic arm, the next step is to ensure that both devices can work seamlessly together. The crucial factor here is establishing effective communication between them. Since the arm operates while the machine tool is paused and vice versa, they do not need to have an in-depth understanding of each other’s operations. Their primary requirement is to receive signals to start and to indicate when their respective parts of the production cycle are complete.
Connecting the Arm to the Machine Tool
The arm should begin working once the machine tool has finished processing a part and the door has opened. It should receive a signal, pick up a blank, move it to the machine tool fixture, release it, and return to its standby position. However, there are certain nuances to consider during the release stage. For processes like turning, the part may need to be held in place while clamping is performed. In such cases, the programming becomes slightly more complex, as the arm must send a signal to the lathe to initiate clamping, and the lathe must send a signal to the arm when clamping is complete.
Connecting the Machine Tool to the Arm
To establish communication between the arm and the machine tool, a mechatronics engineer can connect any arm and any type of CNC machine tool using various methods. This can be done through a USB port or by connecting it directly through one of the equipment relays. A small conversion program can then be written to ensure that the output signal of the arm is understood by the machine tool’s programming language. For instance, instead of an unfamiliar output, the arm can send a signal of an M program to close the door.
If you are not a mechatronics engineer, it is advisable to check the compatibility of the arm you intend to purchase with your machine tool’s equipment or control panels. If your machine tool is not included in the compatibility list, consulting the manufacturer is recommended. They will have the necessary expertise to assist with the setup process and may provide helpful manuals that can save your CNC company valuable time and money on technician services.
Programming the CNC Machine Tool Door
When setting up automated production for CNC machining, an essential feature to consider is the machine tool’s door. It should open and close automatically. If your machine tool does not have this option, it is recommended to invest in an automatic door. However, even with a brand-new automatic door, issues may arise. One significant problem is that the door requires some time to open. Therefore, a delay must be set up to ensure that the arm waits before moving, preventing collisions with the opening door.
Another potential issue occurs when the “open door” function is entered into the program, followed by subsequent commands. The control panel might mistakenly assume that the door is jammed because it does not open immediately. If you encounter this problem with your machine tool, a simple solution is to program the arm to press the “open/close door” button on the control panel itself, mimicking the actions of a human machinist. This approach is relatively straightforward and saves considerable time and effort that would otherwise be spent troubleshooting the control panel-door interaction.
Recommended Reads
- Everything You Should Know About CNC Machining Titanium
- How to Select The Right Plastic For Your CNC Machined Parts
- 3 Axis Vs 5 Axis CNC Machining: Custom Precision Parts Cost
- CNC Milling Definition | Types | Process for Custom Metal Parts (2023)
- What Is Surface Finish in CNC Machining? Pros & Cons | Applications 2023
- 2023 Best CNC Machining Company From China: Machined Parts Guide for Beginners
Other Articles You Might Enjoy
- Bronze Rivet Technology in CNC Machining
Bronze type that can process Rivet Phosphor Bronze Characteristics: High strength, excellent wear resistance, good elasticity. Applications: Springs, bearings, and parts requiring high wear resistance and elasticity. Tin Bronze Characteristics:…
- Precision CNC Machining of Steel: High-Volume Production
Precision CNC Machining and High-Volume Production As an integral part of modern manufacturing processes, Precision Computer Numerical Control (CNC) machining brings about unmatched accuracy and consistency in the production of…
- What are the requirements for CNC machining of bearing parts?
Bearings are common and important parts in the automotive industry, which can support transmission components and transmit torque. Generally, CNC machining centers are used to process bearing parts. So what…


