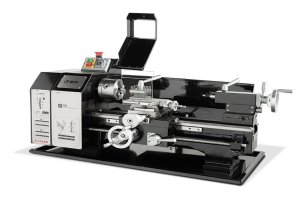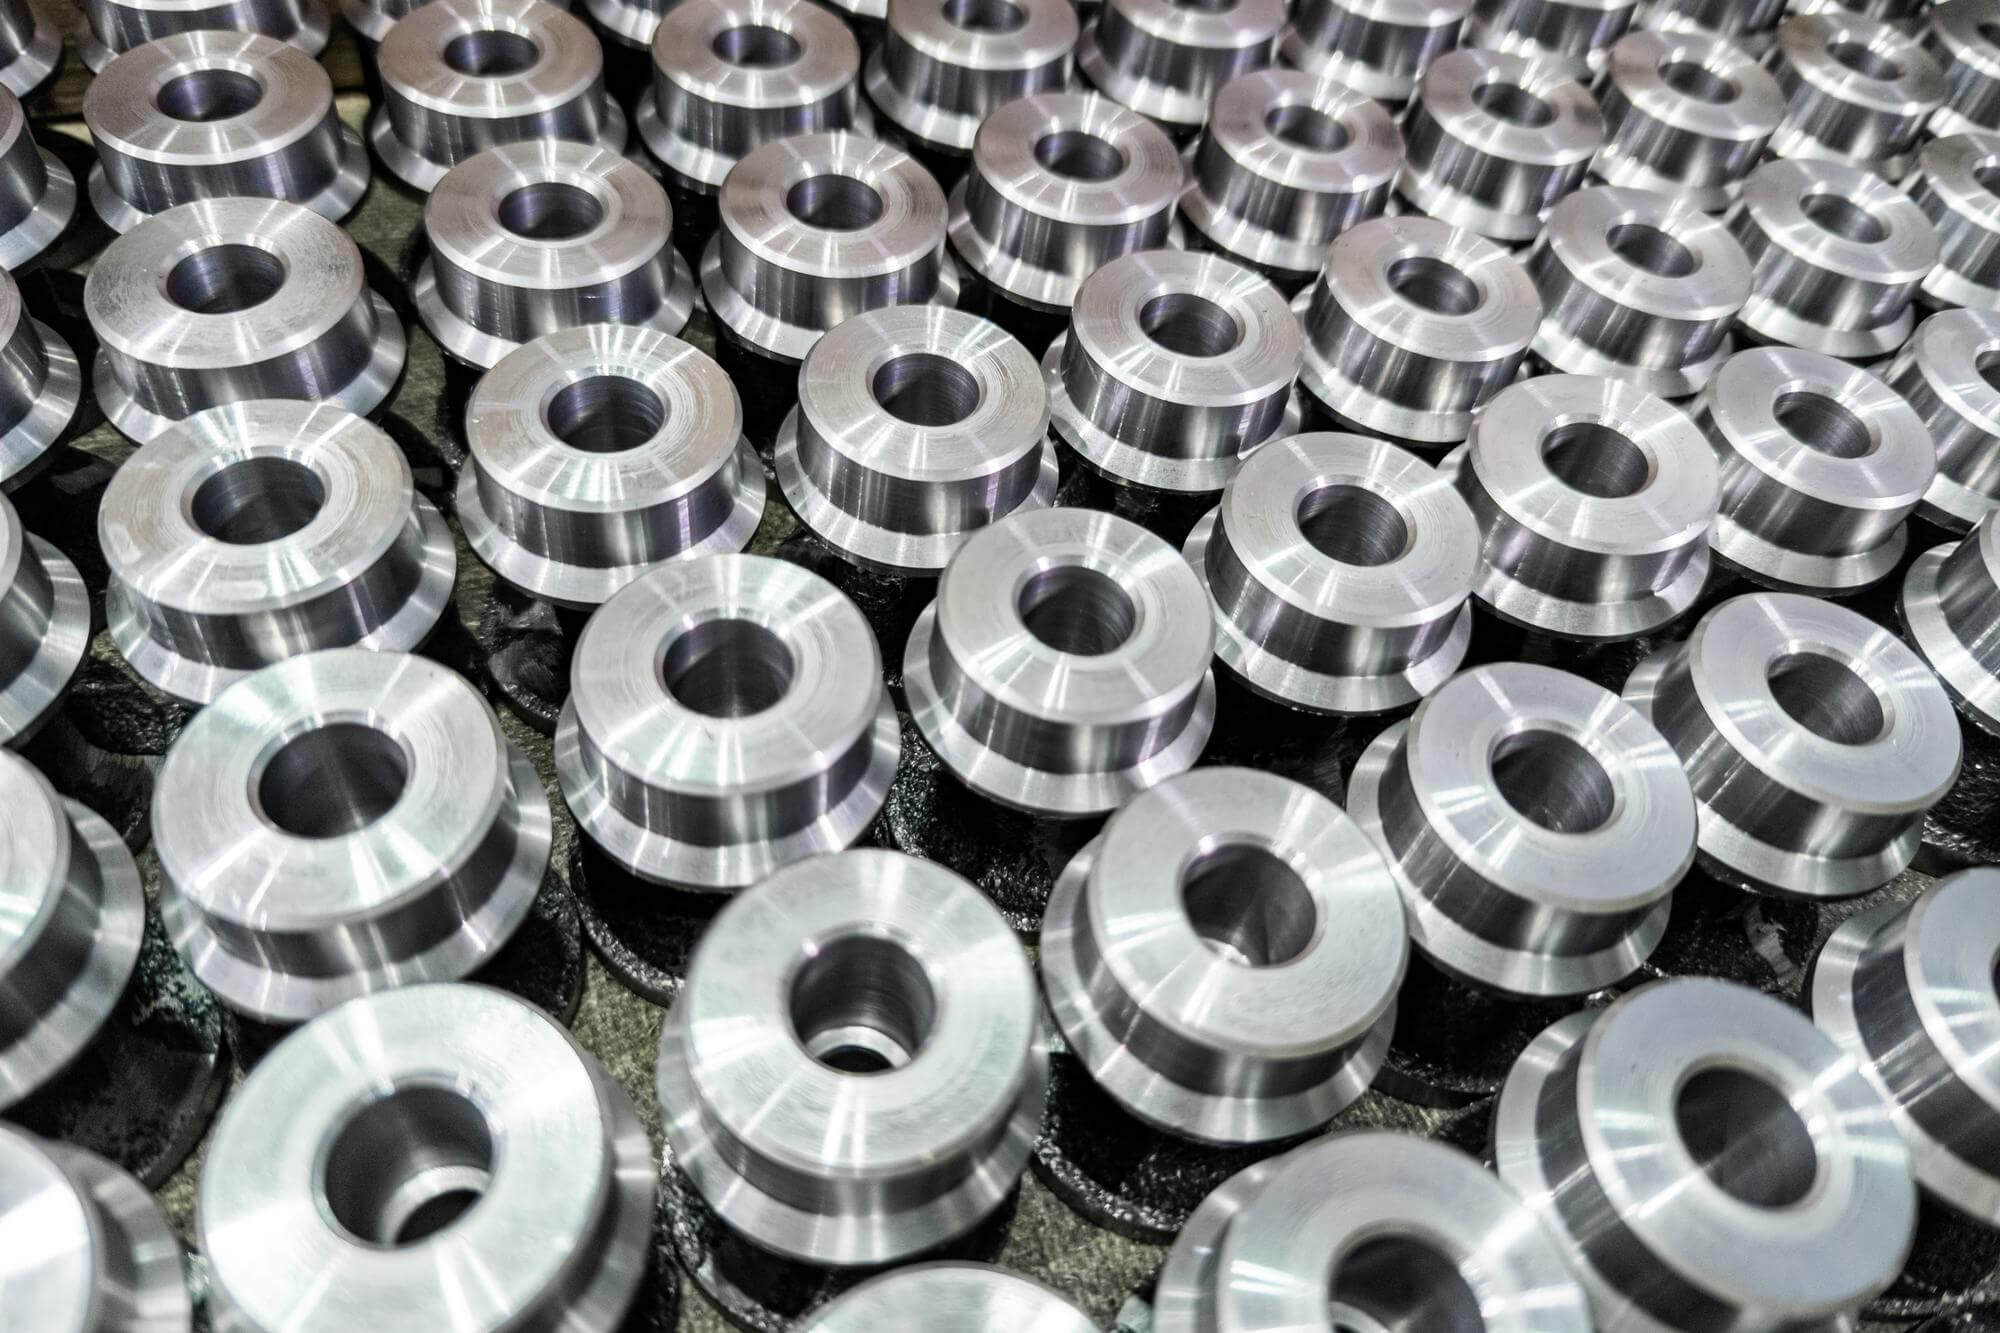
Cylindrical cavities are a staple in CNC machining, offering a versatile range of applications from simple bores to complex recesses. This guide aims to walk you through the essentials of machining cylindrical cavities, ensuring that your CNC machined parts meet the highest standards of precision and quality.
The Basics of Cylindrical Cavities
A cylindrical cavity is essentially a closed region with a solid bottom, but the programming techniques for this can also be applied to open cylindrical features, like counterbores. The first step in planning your program is selecting the appropriate tool diameter. To ensure a clean cavity bottom with minimal residual material, the step-over between passes must be carefully calculated. This requirement influences the minimum tool diameter choice, ensuring it can perform a full 360-degree scan within the cavity.
Challenges in CNC Machining Cylindrical Cavities
CNC machining of cylindrical cavities presents several challenges. First, the complexity of the design requires precise programming to ensure the toolpath perfectly matches the workpiece shape. Second, machining deep cavities often leads to increased heat generation and cutting forces, which can negatively impact both the machining quality and tool lifespan. Additionally, effective chip removal is a significant concern; in deep cavity machining, chip accumulation can cause tool jamming or uneven machining. Finally, the choice of materials and optimization of machining parameters are crucial, as different materials have varying cutting characteristics and physical properties that directly influence machining outcomes. Overall, successfully machining cylindrical cavities demands careful consideration of design, machining technology, and material properties to achieve efficient and high-quality production.
Choosing the Minimum Tool Diameter
Let’s break down the relationship between tool diameter and cavity diameter. As a rule of thumb, the minimum tool diameter should be one-third of the cavity diameter, enabling effective material removal in a 360-degree motion. For instance, if your cavity diameter is 1.5 inches, the tool diameter should be greater than 0.5 inches. A practical choice here would be a 0.625-inch tool, ensuring efficient and clean cutting.
Table 1: Tool Diameter and Cavity Diameter Relationship
| Cavity Diameter (in) | Minimum Tool Diameter (in) |
|---|---|
| 1.5 | 0.5 |
| 2.0 | 0.67 |
| 2.5 | 0.83 |
Tool Entry Methods
After selecting the tool, the next step is determining the entry method. For cylindrical cavities, the optimal entry point along the Z-axis is the cavity center. Assuming the center is set as the program origin (X0 Y0) and the cavity depth is 0.25 inches, a basic program segment might look like this:
N1 G20
N2 G17 G40 G80
N3 G90 G54 G00 X0 Y0 S1200 M03
N4 G43 Z0.1 H01 M08
N5 G01 Z-0.25 F8.0
Linear Approach
Starting from the cavity center, you can move in a straight line towards the circumference while activating the tool radius compensation. For instance, moving towards the 90-degree position along the Y-axis:
N6 G41 Y0.75 D01 F10.0
N7 G03 J-0.75
N8 G01 G40 Y0 F15.0
N9 G28 Z-0.25 M09
N10 G91 G28 X0 Y0 M05
N11 M30
This simple approach might leave marks where the tool first contacts the cavity surface, but it’s efficient for less critical surfaces.
Linear and Circular Interpolation
For higher precision, combining linear and circular interpolation yields better results. This method smoothens the entry and exit paths, ensuring minimal tool marks. Here’s an example program:
N1 G20
N2 G17 G40 G80
N3 G90 G54 G00 X0 Y0 S1200 M03
N4 G43 Z0.1 H01 M08
N5 G01 Z-0.25 F8.0
N6 G41 X0.625 Y0.125 D01 F10.0
N7 G03 X0 Y0.75 R0.625
N8 J-0.75
N9 X-0.625 Y0.125 R0.625
N10 G01 G40 X0 Y0 F15.0
N11 G28 Z-0.25 M09
N12 G91 G28 X0 Y0 M05
N13 M30
Rough Machining of Cylindrical Cavities
Larger cylindrical cavities require rough machining to remove excess material before finishing. This involves multiple passes, especially when the tool cannot clean the entire bottom in one go. Here’s how you can calculate the step-over (Q):
Q = (R - TLR - S) / NWhere:
- R is the cavity radius (cavity diameter/2)
- TLR is the tool radius (tool diameter/2)
- S is the finish allowance
- N is the number of passes
For example, with a cavity diameter of 1.5 inches and a tool diameter of 0.375 inches:
R = 1.5 / 2 = 0.75
TLR = 0.375 / 2 = 0.1875
S = 0.025
N = 3

Q = (0.75 - 0.1875 - 0.025) / 3 = 0.1792
The resulting rough machining program is straightforward, using incremental mode for clarity:
N1 G20
N2 G17 G40 G80
N3 G90 G54 G00 X0 Y0 S1500 M03
N4 G43 Z0.1 H01 M08
N5 G01 Z-0.25 F7.0
N6 G91 Y0.1792 F10.0
N7 G03 J-0.1792
N8 G01 Y0.1792
N9 G03 J-0.3584
N10 G01 Y0.1792
N11 G03 J-0.5376
N12 G90 G01 X0 F15.0
N13 G28 Z-0.25 M09
N14 G91 G28 X0 Y0 M05
N15 M30
Cylindrical Cavity Machining Cycles
Some controllers feature specific cycles for cylindrical cavities, such as G12 and G13. These cycles simplify programming by automating the circular interpolation required for cavity machining. Here’s an example using a Fanuc controller:
N1 G20
N2 G17 G40 G80
N3 G90 G54 G00 X0 Y0 S1200 M03
N4 G43 Z0.1 H01 M08
N5 G01 Z-0.25 F8.0
N6 G13 I0.75 D1 F10.0
N7 G28 Z-0.25 M09
N8 G91 G28 X0 Y0 M05
N9 M30
Mastering cylindrical cavity machining involves understanding the relationships between tool and cavity dimensions, selecting appropriate entry methods, and utilizing effective programming techniques. By following these guidelines, you can achieve precise and high-quality cylindrical cavities in your CNC machined parts.
Other Articles You Might Enjoy
- Unraveling the World of CNC Machined Plastic Parts(CNC machined plastic parts Mabel)
Modern innovations have taken traditional manufacturing methods to new heights. One such innovation that stands out is Computer Numerical Control (CNC) machining, a process used extensively in various industries from…
- CNC Machined Plastic Parts: An In-depth Overview(CNC machined plastic parts Norman)
Computer Numeric Control (CNC) machining is an advanced manufacturing process where pre-programmed software dictates the movement of factory machinery and tools. These applications can carry out complicated manufacturing tasks with…
- Enhancing CNC Machining with Smart Alloys: Shape Memory Metals vs. Traditional Alloys
Introduction to CNC Machining Computer Numerical Control (CNC) machining stands as a cornerstone in modern manufacturing, enabling the precise and automated shaping of materials. This technology relies heavily on the…
- Mastering Cavity Milling Techniques for CNC Machined Parts
Cavity milling is a common operation in CNC machining centers. It involves removing material from a closed area defined by its boundary lines, which can include sidewalls and a bottom…
- Requirements for CNC Machining Parts
Preparation Work Complete the necessary preparation before machining, including process analysis, process route design, tool and fixture selection, and program compilation. online cnc machining service Operating Steps and Contents Start…
- Face Milling Essentials for CNC Machining Parts
Face milling is an essential operation in CNC machining, aimed at controlling the height of the workpiece and ensuring a smooth surface finish. This process often uses multi-tooth cutters, known…